Suricata
Suricata is a scalable tool. This security monitor makes use of multi-threading functions so that just by running in one instance the monitor will balance its load among all available processors, even bypassing some of them if we so specify. As a result, this tool is capable of processing a bandwidth of up to 10 gigabits per second with no impact on performance.
This tool is also capable of identifying the main network protocols, being able to control all the traffic generated in the system at all times and controlling possible malware threats.
Requirements
- nginx
- suricata
Installation
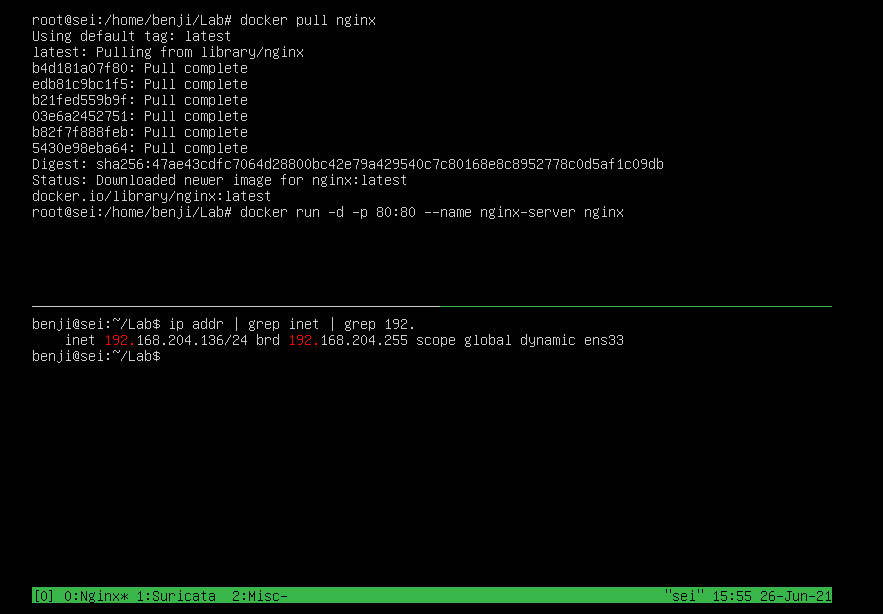
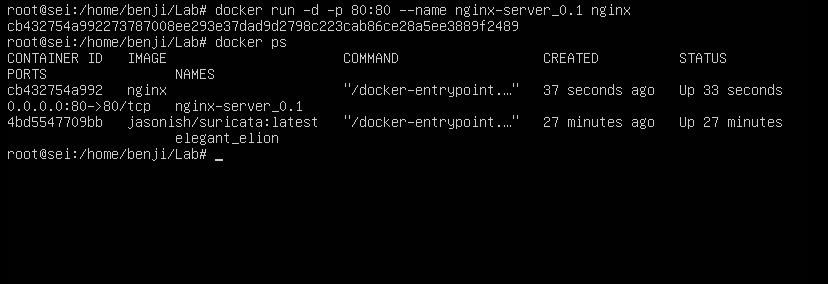
We first install nginx in docker and expose the port:
docker pull nginx
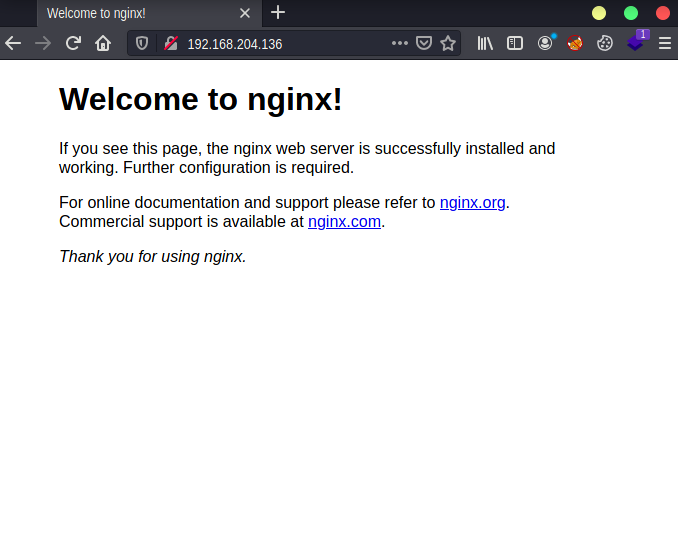
Here we see our ip address and the installed application:


Install suricata
This we will do if we want to execute it in a basic and fast way, with the parameter -i we specify the network card of the server.
(For the log part we could also add volumes).
Add that we specify the capabilitiesto use so that you can monitor the network interface:
docker run --rm -it --net=host \
    --cap-add=net_admin --cap-add=sys_nice \
    jasonish/suricata:latest -i ens33
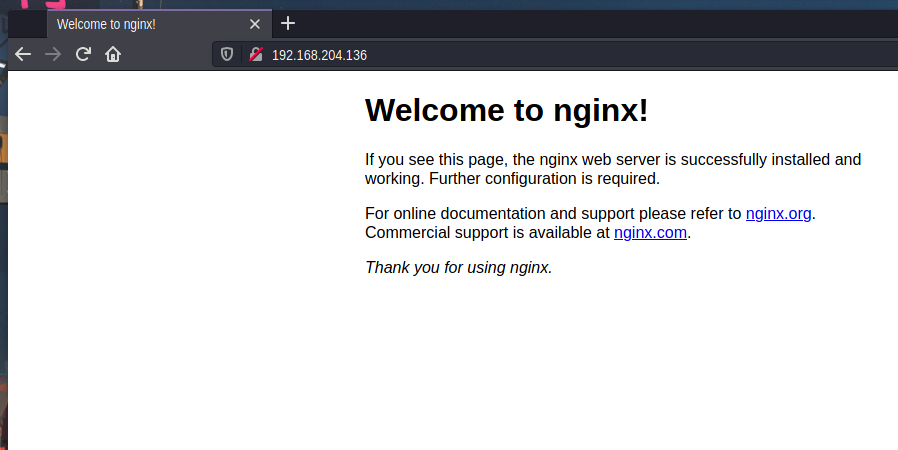
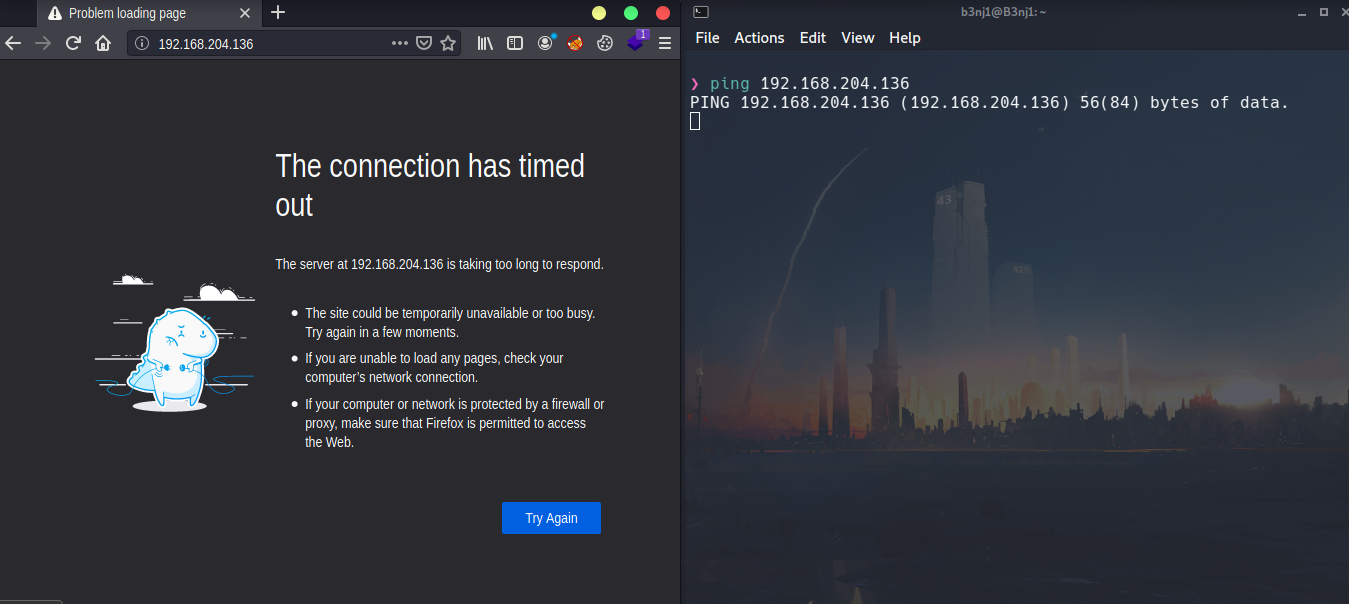
I test if I have connection to the server from my attacker machine:


Valid that the service is enabled on the server:

Rules
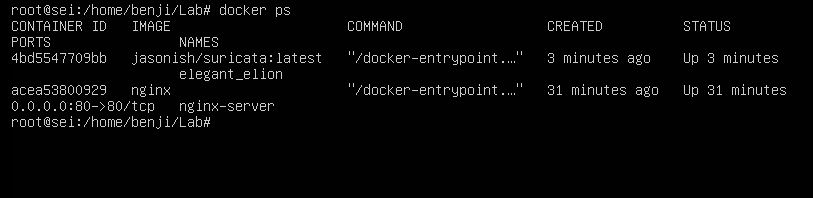
Before entering the test to see what rules suricata has we must first enter the container with the following command:
docker exec -it ID /bin/bash
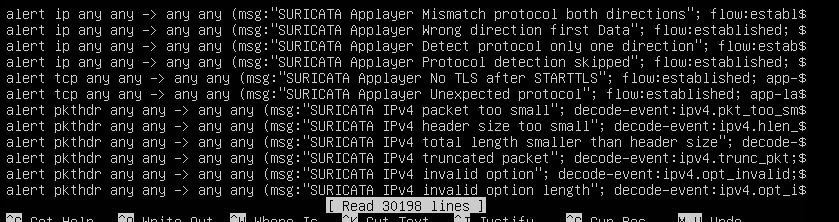
Let’s go to the route where the rules are:
cat /var/lib/suricata/rules/suricata.rules
It has 30198 rules, I think it is too few:

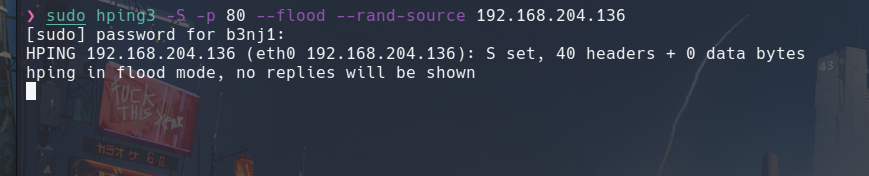
Attack DOS
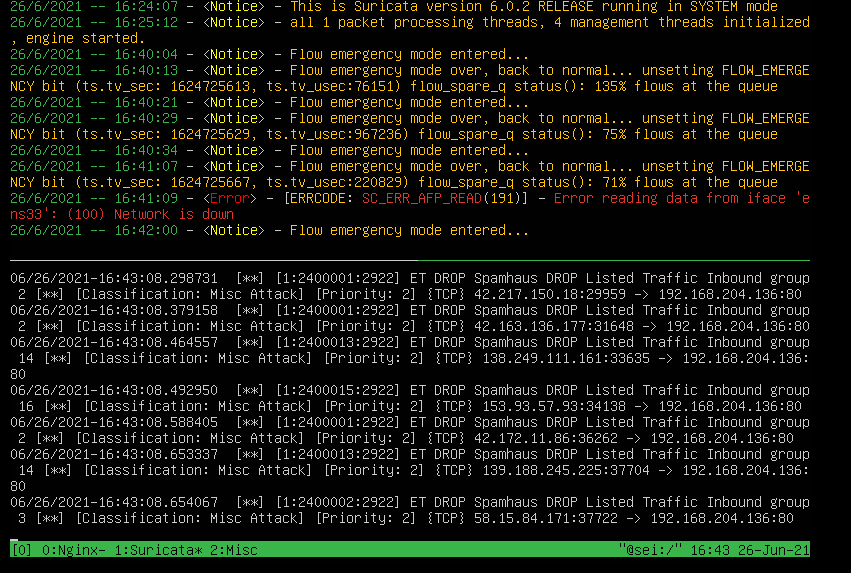
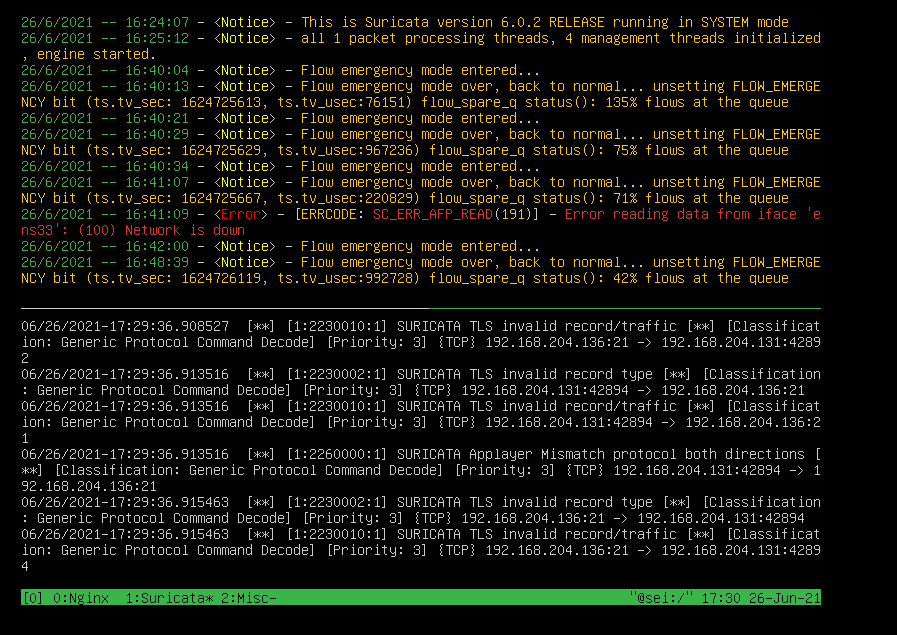
Here we see the alerts that the meerkat gives us in the event of a attack:


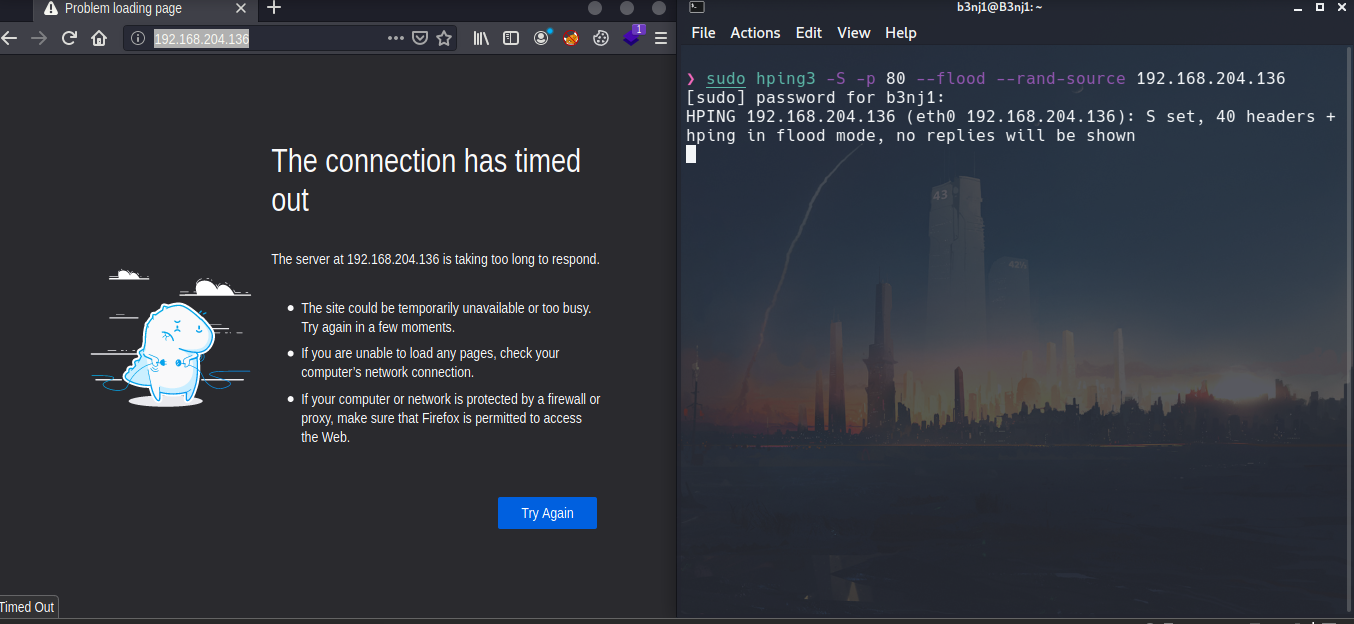
Result
The result was as expected, the service was stopped incorrectly:


Start service
Now we proceed to first stop the container and then restart it:


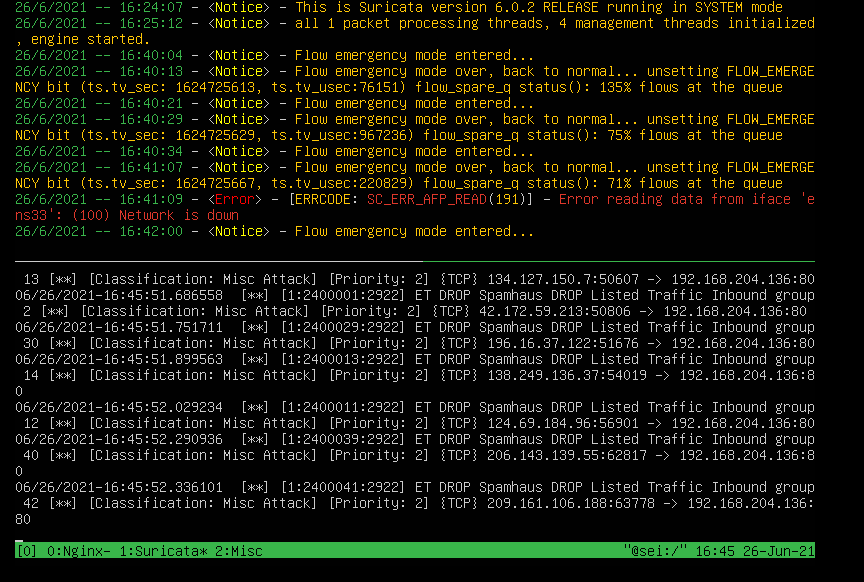
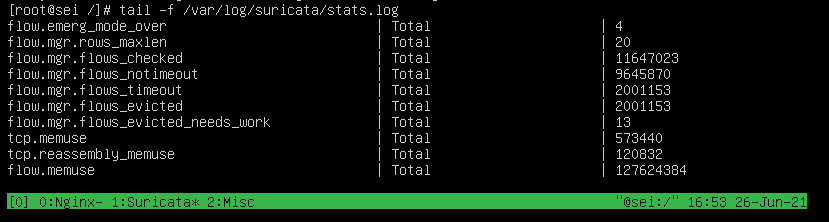
Statistics
Here we can see through the logs a statistic of the total received:

Mitigation
By means of the logs we can do something interesting and it is that for example if we have the address of where the attacks originated we can take it:
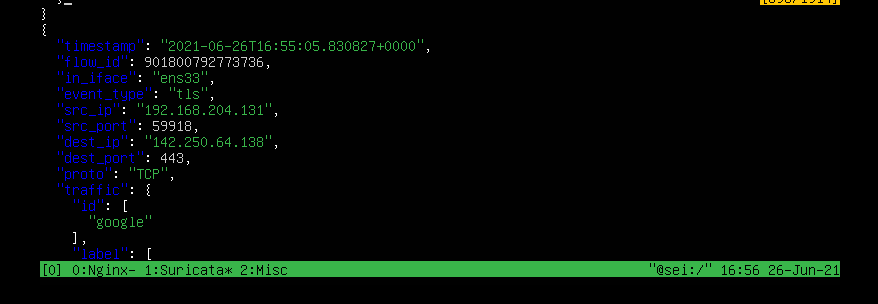

Here I check:


Block
- Form 1
With firewalld:
firewall-cmd -add-rich-rule='rule family=ipv4 source address=192.168.204.131 reject' --permanent


- Form 2
Use the one I found easiest, you use whichever of the two:
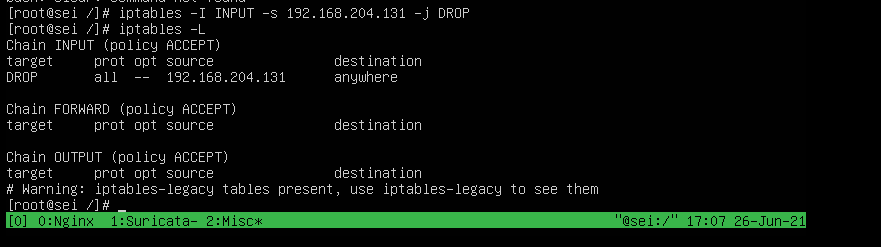

Result
Opinion on the rules
As a recommendation I would say that the default ones are very good, you just have to analyze and edit them a little but if you want to make your own rules you can also do it, first create a backup of the original file and that’s it:


Here is a list of rules:
Nmap
I do an nmap scan this way because it is a controlled environment:
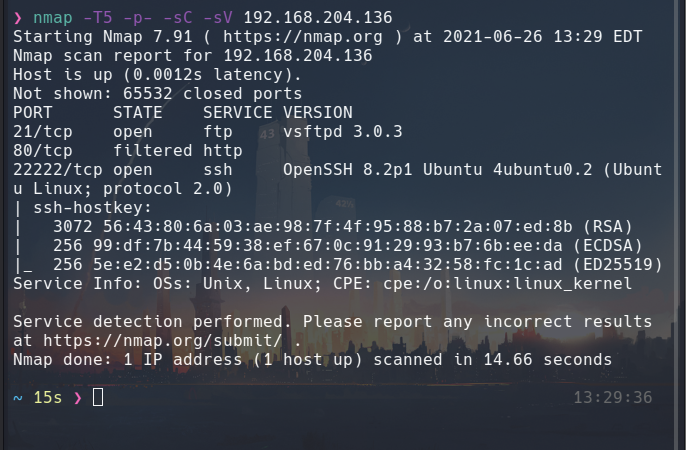

What is reflected in the meerkat (although this can be bypassed, I think it is a good measure against an attacker):

Joint applications
In this part we can implement the honeypot and meerkat together:
docker run -d -p 22:2222 cowrie/cowrie
Check:
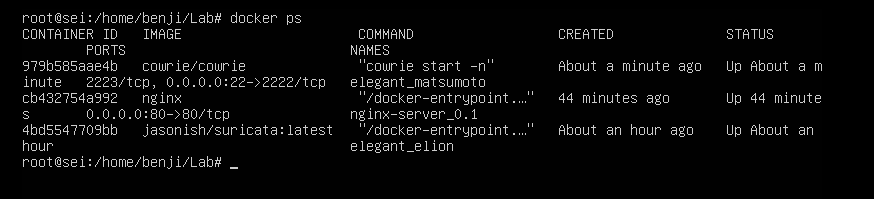

Here we see that even though it is a meerkat honeypot, it is still doing its job

General Opinion
*All this was done in a controlled environment.
It is worth adding that it would be an excellent option to take for a production environment, in my experience using it you can get more out of it than what you get here. It is possible to make scripts that help with the blocking part.
There are also other ways of implementation such as on a server as such and not in a container.
Review PWNED!!!!!
